Make an approachable founder portrait with studio-quality light
The investor page needs a founder photo by Friday, and the best one you have was taken at a dinner party. An approachable portrait doesn't need a new grin or a suit; it needs deliberate light and framing around the expression already there.
What you'll make
a warm, studio-style portrait candidate with deliberate light and framing, the same expression and the clothes the person was actually wearing.
What you'll need
a recent, readable photo of yourself or of an adult who has agreed, in an image editor your organisation lets you use (ChatGPT and Gemini both edit attached photos), plus the page where the portrait will sit. Keep the untouched original. To practise first, use the fictional dining-room photo.
Example result.
1. Decide where the warmth goes
A warm backdrop can make a portrait feel less clinical. It doesn’t need orange skin or a colour filter over the whole picture, so describe the background colour separately from the light on the face.
Tie “approachable” to the expression the photo already has. AI shouldn’t decide a founder needs more visible teeth, a narrower jaw or a jacket. Then decide where the image will sit: a slightly off-centre portrait suits a bio feature, but a small circular avatar may need a different crop. One generation can’t serve every destination.
Why this works: naming the background, the face light and the destination separately gives you three things to check later, instead of one vague “warm and professional”.
What you should see: a one-line decision, such as “warm umber backdrop, neutral face light, bio feature with space to the right”.
2. Ask for light as a direction, not a quality
Attach the untouched original and paste the request. “Studio-quality” on its own leaves every choice open. Broad light from one side with gentle fill gives a checkable aim: readable eyes, facial shape and restrained highlights.
Edit my attached everyday photo into a natural, warm studio-style portrait.
Keep the face proportions, expression, head angle, gaze, hair, facial hair,
clothes and posture exactly as photographed. Use broad soft light from the
viewer's [left / right], gentle readable shadows and natural skin colour and
texture. Use a quiet [backdrop colour] backdrop; put the warmth in the
backdrop, not the skin. Place the head and shoulders [position] with complete
hair and headroom. No new smile, outfit, beauty retouching, hands, words or
logos. Return one image.
[left / right] is the side of the light as you look at the picture. [backdrop colour] is the setting colour, such as warm umber. [position] is where the person sits in the frame, such as “left of centre with calm space to the right”.
Why this works: the clothes and expression are listed as fixed, so the only open choices are light, backdrop and framing, which are the parts you wanted changed.
What you should see: one portrait of the same person in the same top, in a simple backdrop, lit from the side you named.
3. Compare the result with the original
Put the downloaded result next to the original at full size. Check face shape, facial hair, expression, clothes and gaze first. Then look at the light: has it added a colour cast, extra sharpness or texture the original didn’t have?
Look at the space beside the person in the real page layout. It may be useful breathing room rather than space for a paragraph. If you need room for text, the leadership website guide shows how to check it with real text.
Why this works: checking identity before light stops a flattering backdrop distracting you from a changed face.
What you should see: a short list of what matches and what changed.
Check the result
- Same expression, gaze, facial hair and clothes as the original.
- Skin colour close to the original; the warmth is in the backdrop.
- Skin texture looks like the original, not sharpened or smoothed.
- The space beside the person works for the real layout.
The usual failure: the face comes back warmer and sharper than the original. It looks like better photography, which is why it’s easy to accept, but the extra detail is invented. Compare the cheeks and moustache edge at 100%.
The backdrop, pose and framing are good. The face is [what changed, e.g.
warmer and sharper than the original]. Using my original photo for the
person's appearance, correct only that: match the original skin colour
and texture. Keep the smile, gaze, clothes, backdrop and framing.
Return one image.
[what changed] is the difference you can see, in plain words.
If the original is too blurred to judge facial detail, retake it rather than asking for artificial sharpness. If repeated repairs keep changing the person, start again from the original with a simpler light instruction.
Worked example: dining-room snapshot to a studio portrait
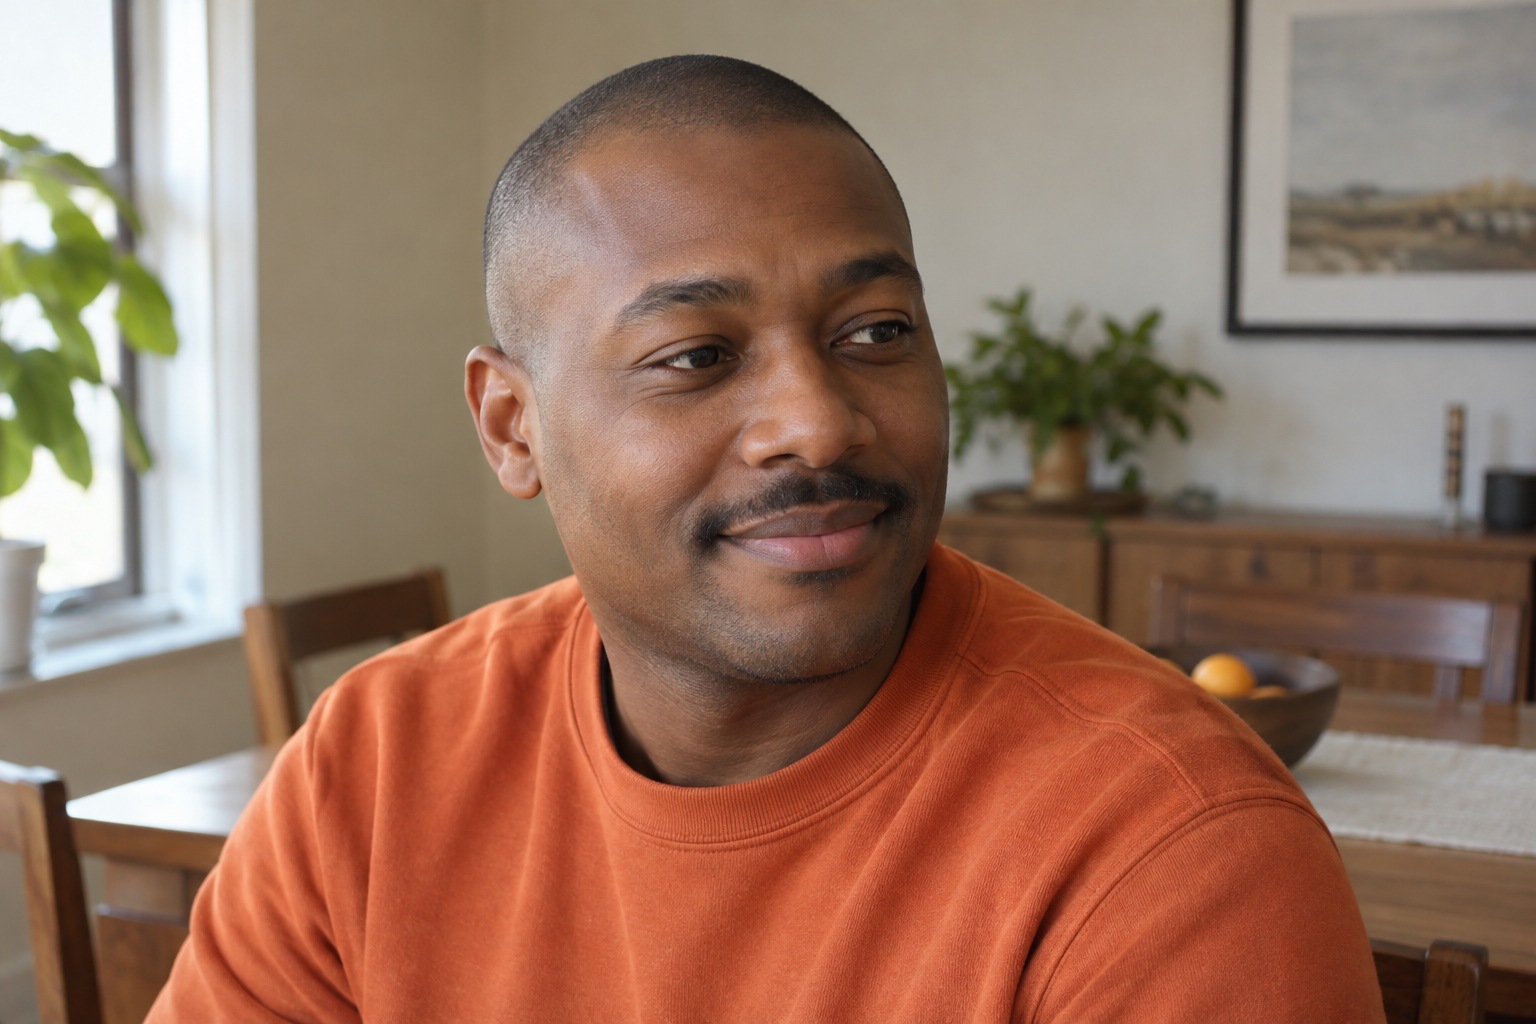
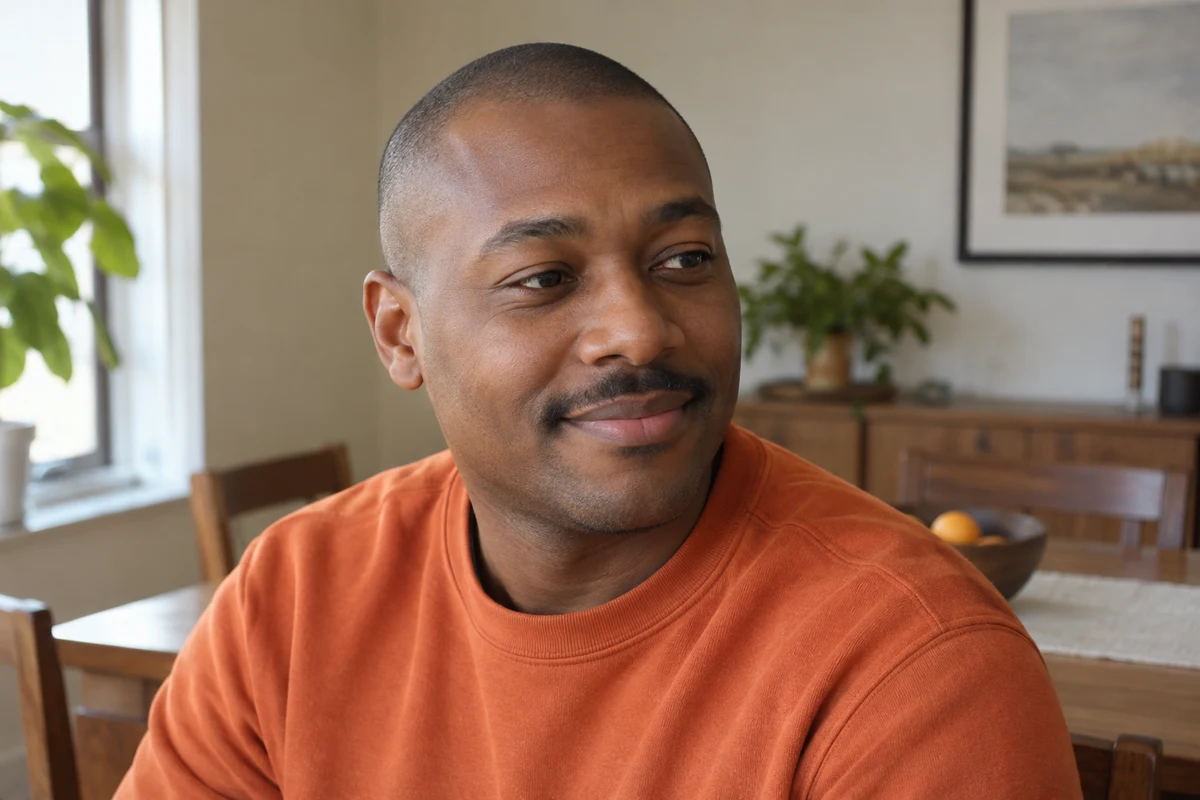
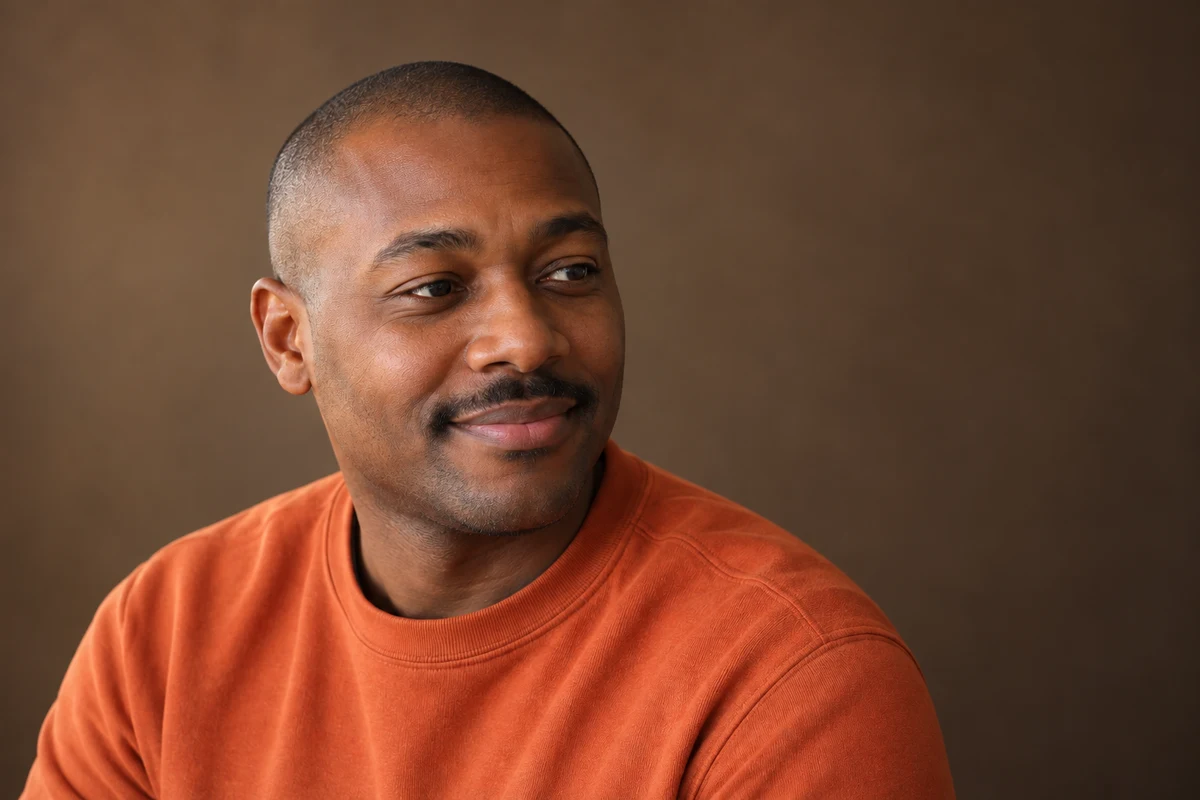
Fictional example. The source is the dining-room photo above: off-camera gaze, small closed smile, close-cropped hair, moustache, orange crew-neck. The request used light from the viewer’s left, a warm umber backdrop and “left of centre with calm space to the right”.
- What held: the small smile, rightward gaze, hair, moustache and orange top all survived. The dining room became a quiet umber field, and the light is clearly one-sided.
- The failure: the face is warmer and sharper than the original. Side by side at full size, the cheeks have more defined texture than the source shows. The repair prompt goes in as “The face is warmer and sharper than the original”, with the original attached again. Check the next candidate against the original, not against this one.
- The space: the area to the right is breathing room, not a text panel. For a bio feature with the name above, that’s enough. For a headline across the image, it isn’t, and asking for “more space” would mean inventing more shoulder and background.
Try it
Review the founder crop
Improve light and framing without imposing a standard corporate pose.
Keep the existing pose and decide whether the space is useful for the real placement. Do not invent a new posture to fill a layout.
The example in text
- Orange crew-neck retained
- Rightward gaze retained
- Warm studio treatment
Fictional photo and AI edit.
Task kit for this job: Download (ZIP) · Reusable instructions
Go deeper
If the source has a big laugh or a relaxed lean
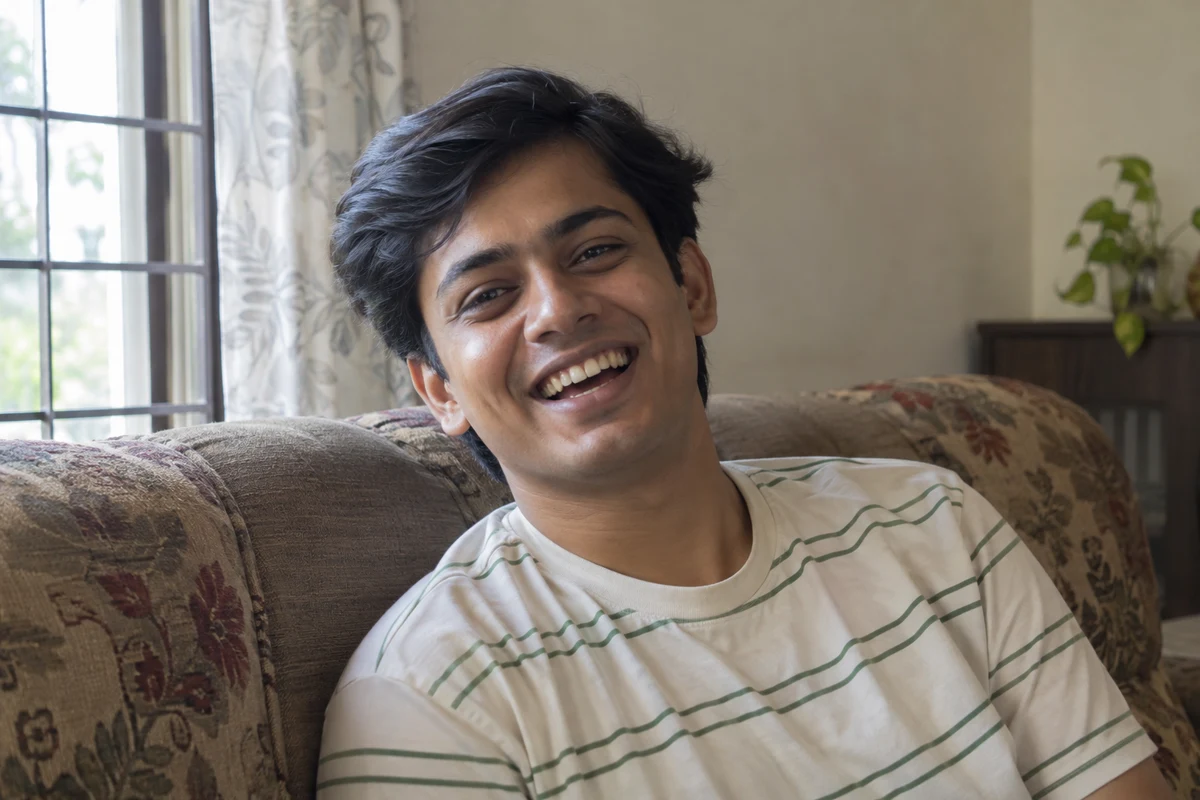
A broad laugh and a diagonal lean can suit an informal founder page. Asking for “more executive” tends to erase both, leaving the same closed smile and straight shoulders as everyone else. Write the expression and posture into the request (“keep the laugh, visible teeth as photographed and the diagonal lean”) and check the mouth closely: teeth should sit coherently in the expression, with no extra rows. A blurred laughing mouth is a problem with the photo; AI detail won’t show what was there.
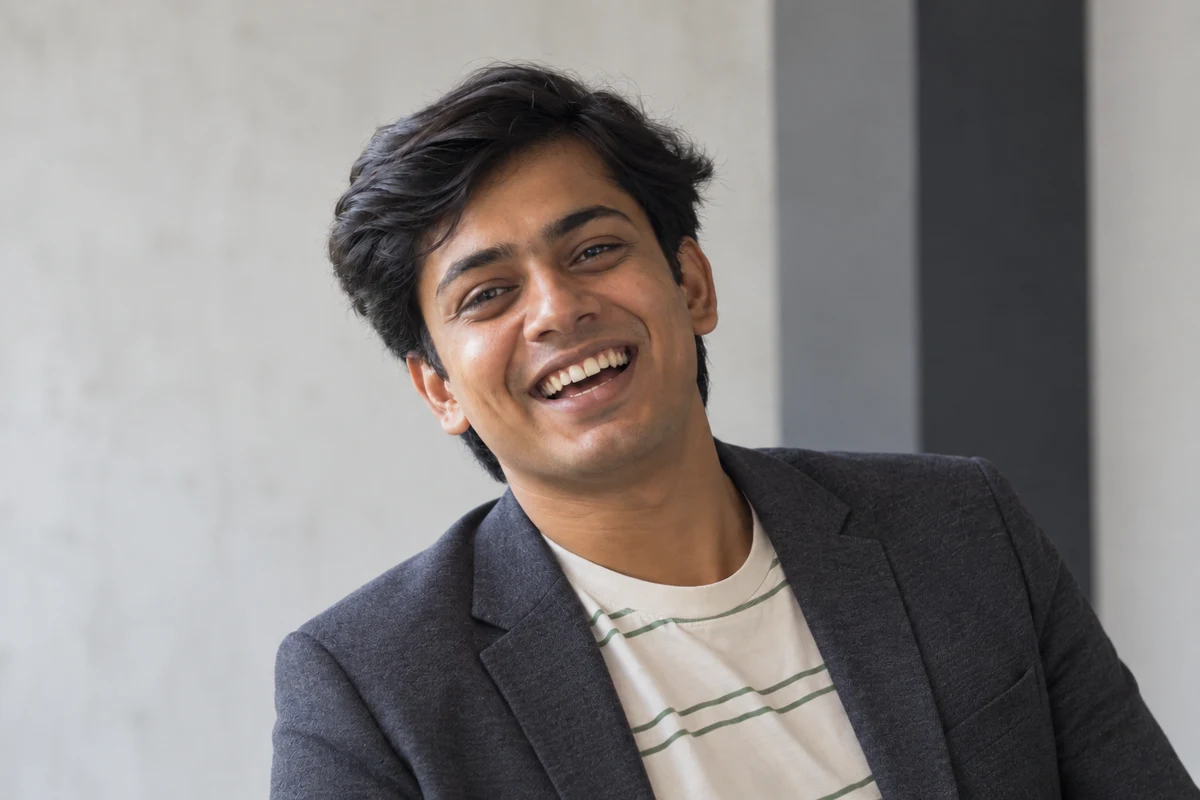
To keep the real outfit, add “Keep the clothes as photographed; no wardrobe change.” To try a jacket, say so and label the result as a concept.
Match a website palette carefully
Give the backdrop colour as a hex code or a swatch, then check the result: a generated background is close to a brand colour, not guaranteed to match. For an exact flat colour, cut the person out in a design tool and place them on the real colour, then check the edge around the hair.
Compare two light instructions
Keep one photo, one crop and one backdrop, and change only the light: for example “soft light from the viewer’s left” against “soft frontal light”. Compare eye readability and skin colour side by side before choosing. Changing one thing at a time tells you what the instruction did.