Build a founder portrait that fits your business
Your About page still uses a photo cropped out of a team lunch, and the new speaker bio needs something calmer by Friday. Restyle the photo you already have in ChatGPT, then check it still looks like you when it sits next to your own words.
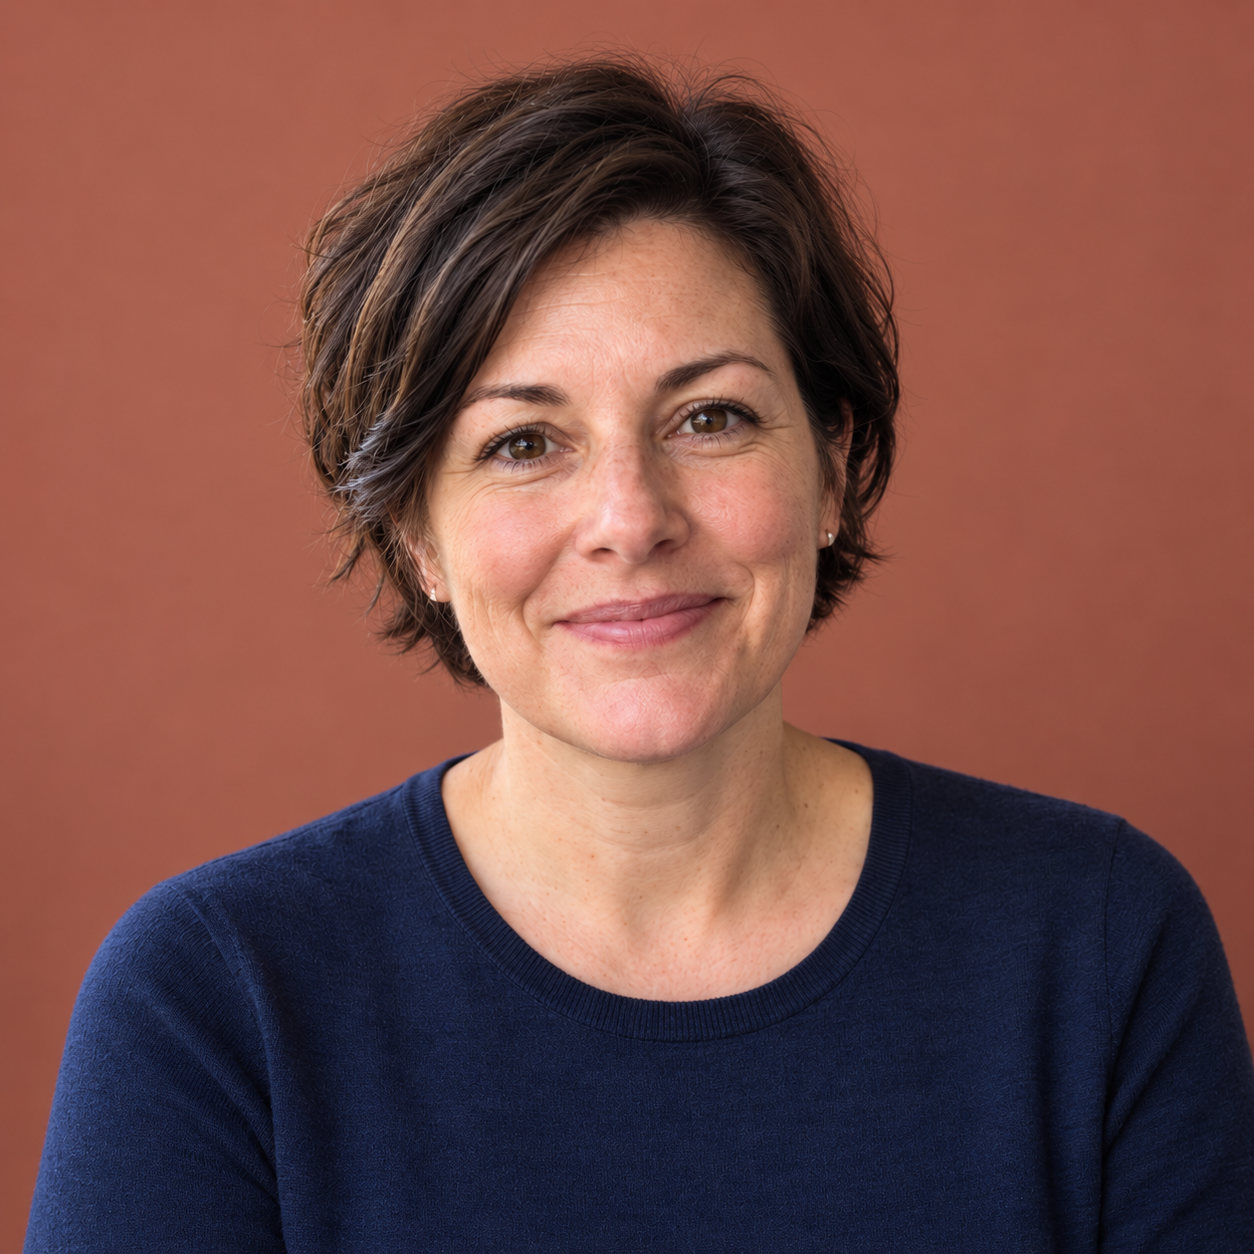
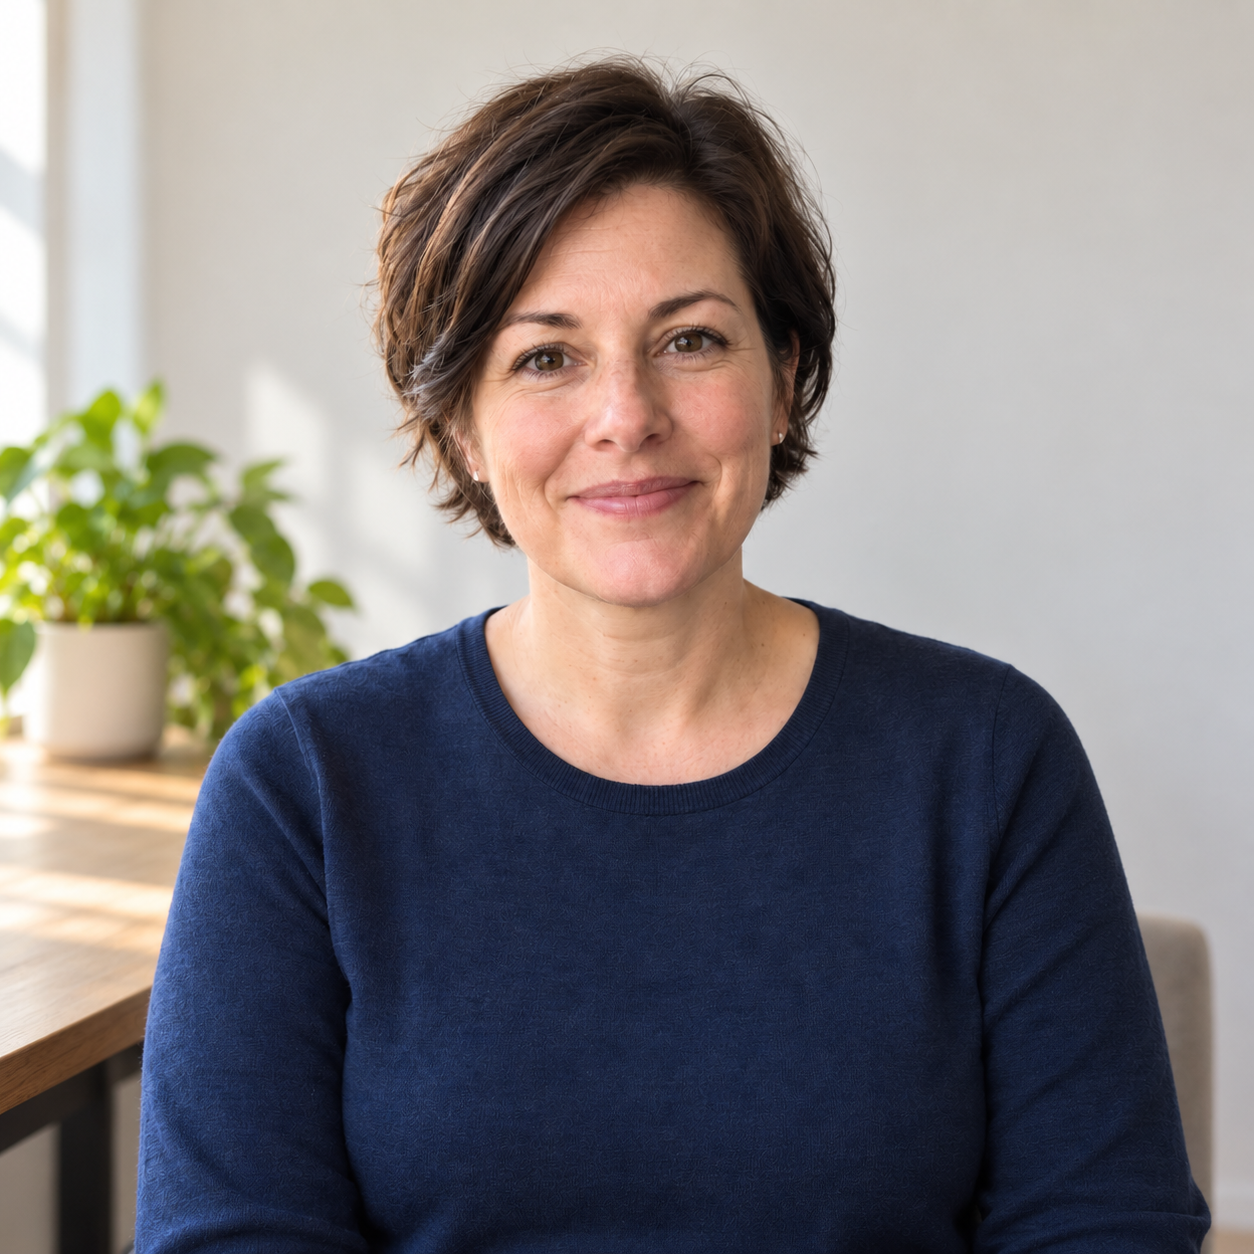
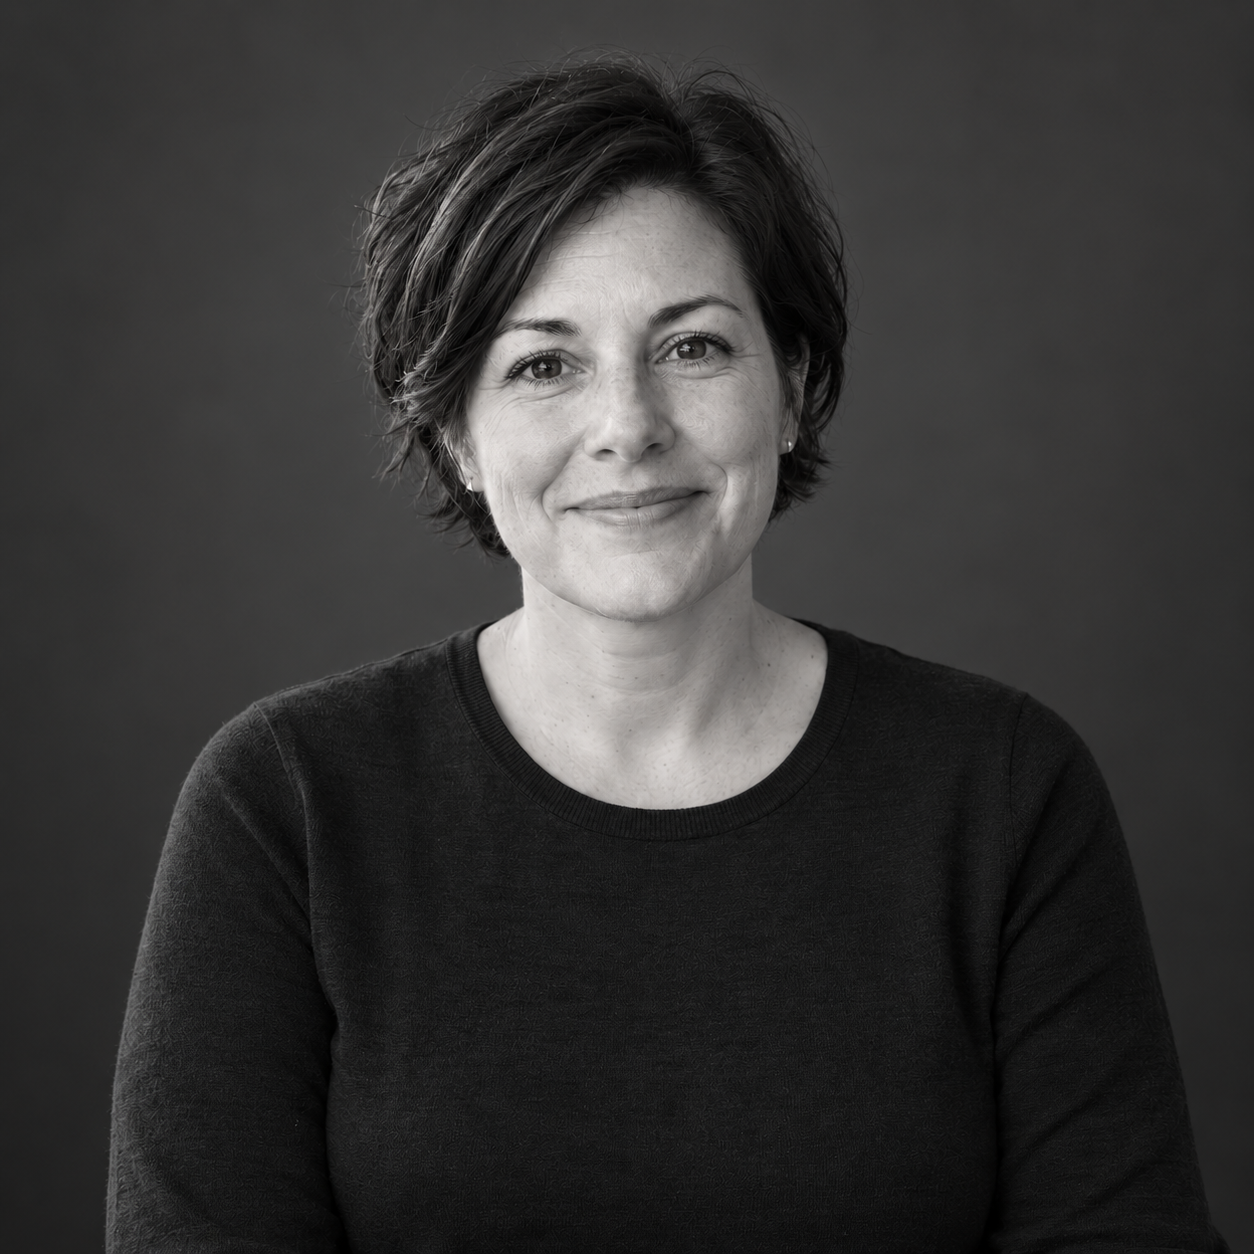
What you'll make
one restyled portrait of you, checked against the original photo and previewed beside your real biography.
What you'll need
ChatGPT, your own photo (or permission from the adult pictured) and about 15 minutes. Check your organisation’s rules before uploading a real photo, and read OpenAI’s pages on images in ChatGPT and data controls to see how uploads are stored. For choosing a good source photo, start with the basic headshot guide.
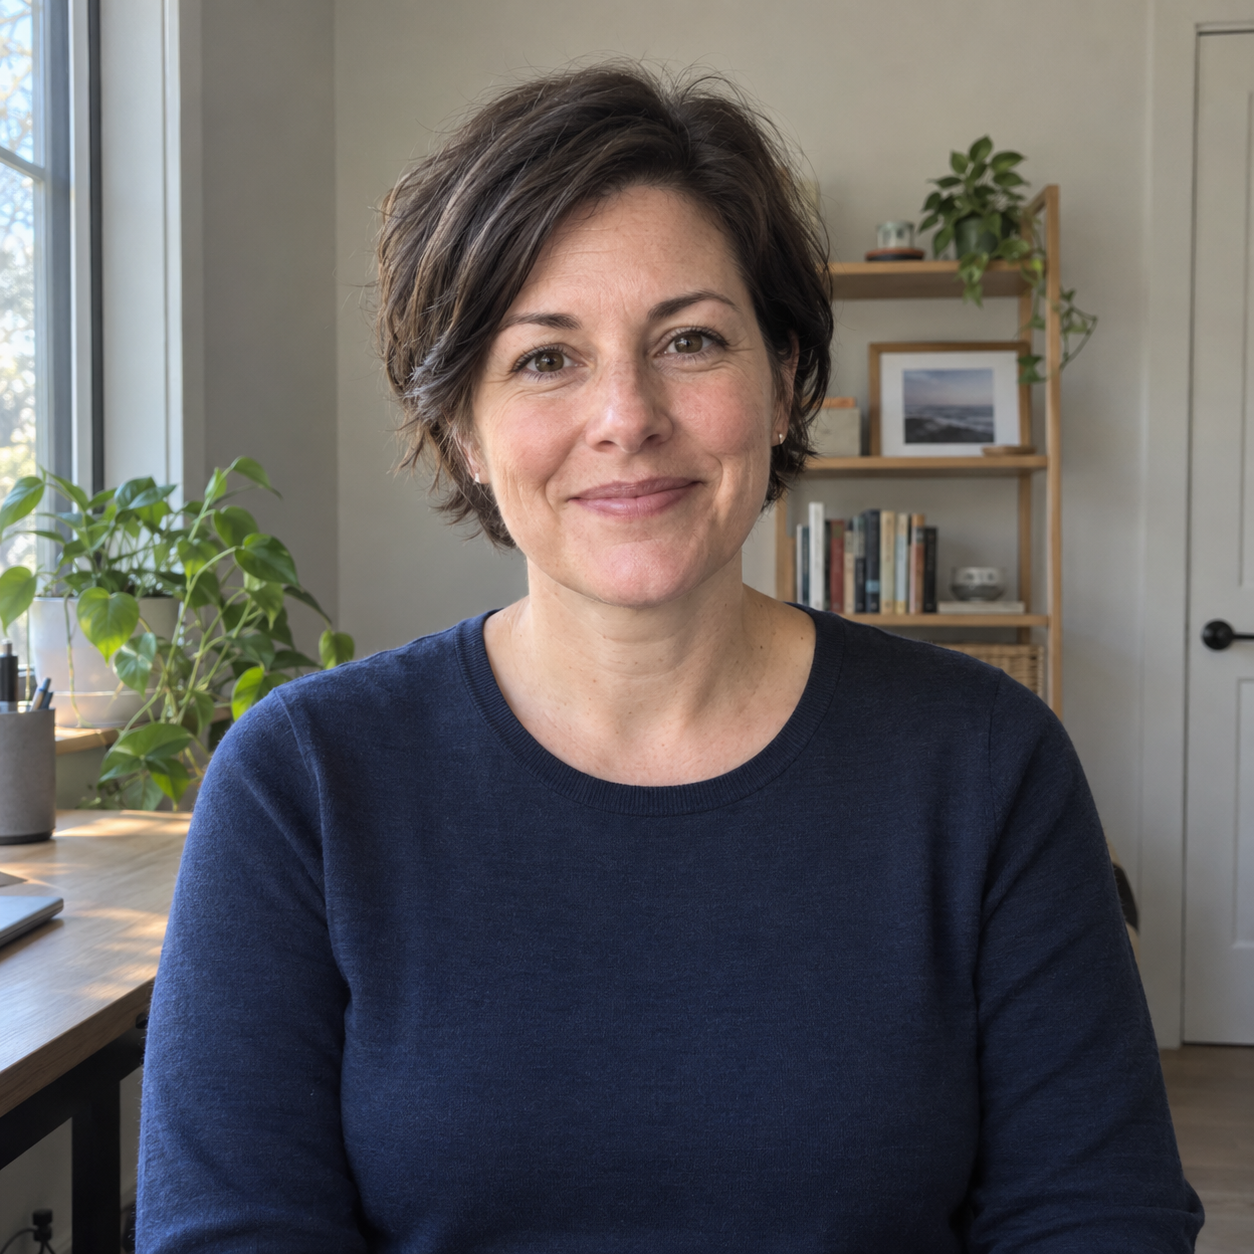
Example result. One untouched photo of a fictional adult, and the three treatments at the top of the page made from it: editorial colour, relaxed workspace and monochrome. You pick one, check it and hand over a single file.
1. Choose the treatment for the page you have
Decide before you prompt, because each treatment suits a different page:
- Editorial colour: a plain coloured background with soft light. Check it suits the page colours and leaves enough contrast around the hair and clothing.
- Relaxed workspace: a wider frame with a generated room behind you. If the page needs to show your actual premises, use a real photo of them instead.
- Monochrome: black and white, which sidesteps clashing page colours. Check that dark hair and clothes still show detail at the size the portrait will appear.
Think about the size the portrait will be beside the biography. A lovely image can still leave your face the size of a postage stamp on the page.
Why this works: the page decides the crop and background. Choosing first stops you judging three images on charm alone.
What you should see: one treatment, a rough shape (square, or wider for a banner) and the page it is for.
2. Attach the original and send one edit brief
Open a new chat in ChatGPT, attach the untouched original photo and describe the change you want. ChatGPT edits an uploaded image when you describe the change in the conversation. Replace the bracketed parts of this prompt:
Edit my attached original photo for [an About page or speaker bio].
Keep the person's face, apparent age, expression, hair, clothing,
accessories, body proportions and natural skin texture as photographed.
Do not beautify, slim, smooth skin or invent physical features.

Change only [the background, light and crop you want].
Frame [head and shoulders, or the visible upper torso] with room around the hair.
Do not invent missing parts of the body, credentials, logos or props.
Keep a natural photographic look. Make one image in [shape, for example square].
[an About page or speaker bio] is where the portrait will appear. [the background, light and crop you want] is the treatment from step 1, in plain words. The framing and shape placeholders describe the crop the page needs.
Why this works: the first paragraph names what must stay; the second names the only things allowed to change. Without the first, the model is free to improve your jaw while it fixes the wall.
What you should see: one portrait in the treatment you asked for, at roughly the crop you named.
3. Preview it beside your biography
Put the portrait into the page, or a quick mock-up of it, next to the real biography text at the size it will be published. Look at the face size, the crop and how the background sits against the page colours.
For a simple layout mismatch, crop or resize the image normally where there is enough room, rather than generating it again. Each new generation is another chance for the face to drift.
Why this works: a portrait that looks fine alone can be wrong for the page. The biography beside it is the real test.
What you should see: a face that reads clearly at published size and a background that does not compete with the text.
Check the result
- Compare the face, apparent age, expression, ears, hair edges and neckline with the original at full size, not as a thumbnail.
- Check the background for invented objects, credentials or a location that suggests your real office. The AI has not visited, however confidently it has installed a plant.
- Check the face size beside the biography.
- Check the pixel size before you hand it over. Our examples came back at 1254 × 1254 pixels when we asked for 1024 × 1024.
The usual failure: the edit changes more than you asked. Look for props you did not request, a wider crop that shrinks the face, or a room that looks like premises you don’t have. Start again from the original photo, not from the edited one, with a narrower brief:
Keep the same framing and soft light. Change only the background
to [quieter colour]. Preserve my appearance and clothing.
[quieter colour] is a plain colour that suits the page. Check the likeness again after this edit too. Reject anything with an inaccurate likeness or invented credentials, however nice the light.
Worked example: from an invented workroom to a plain background
Fictional example. A consultant wants a portrait for the About page of her small practice. Her page has a two-line biography beside a square image. She starts from the source photo shown above.
First attempt: relaxed workspace.
- The edit added a plant, a work surface and the faint edge of a chair. She works from a shared studio, so this room would suggest premises she doesn’t have.
- The wider crop gives the room more space and makes her face noticeably smaller beside the biography.
Repair: a narrower brief from the original. Going back to the untouched photo, the request changed only the background (a plain muted terracotta) and kept a head-and-shoulders crop.
- The background and the tighter crop are what she asked for, and her face now reads clearly at the page’s square size.
- It still needed the full-size check: fine facial contours and the knit of her top changed too. Small drift like this is a reason to compare, not automatically to reject. She chose this version after checking it against the source.
The monochrome treatment at the top of the page came from the same source. Grey tones simplified the page colours, but the facial details and fabric were still generated again.
Prompts we used for these examples
Each example started from the same source photo with the same preservation paragraph: keep her facial proportions, apparent age, eye colour, fine lines and skin texture, hair, earrings, navy crewneck and closed-mouth smile; don’t beautify, slim, smooth skin, apply makeup or change the outfit; add no credentials, logos, text or badges. Then one style line changed:
- Editorial colour: a plain muted terracotta studio background, calm soft light, head-and-shoulders square crop with space above the hair, no props.
- Relaxed workspace: a softly defocused light wall, a simple desk edge and one modest plant, soft daylight, a slightly wider square crop showing the upper torso, no hands or held objects.
- Monochrome: neutral greyscale against a plain charcoal backdrop, gentle soft light, the navy top converted to its matching dark grey without changing its shape.
Use the reader prompt in step 2 for your own photo, not these descriptions of her.
Try it
Compare the full source and treatment
Drag the divider between the source photo and the editorial colour edit. Look at the jaw, eyes and the knit of the top, not only the background.
SourceTreatmentHalf of the treatment is revealed over the source. These are generated fictional images, not a real person.
Task kit for this job: Download (ZIP) · Reusable instructions
Go deeper
Widen a head-and-shoulders photo for a 16:9 banner
A speaker page or event listing often wants a wide banner, while most good portraits are head and shoulders. The tempting fix is to ask for a wider image, which invites the model to build shoulders, hands and a conference room you never had. ChatGPT can make wide images, and you can state the ratio in the prompt, but the extra width should come from background only.
Extend my attached photo to a 16:9 banner. Keep my face, hair,
clothing and the existing crop of my body exactly as photographed.
Add width with plain [background colour] on both sides only.
Do not invent missing parts of the body, hands, props, text or an office.
[background colour] should match the edge of your photo or the page. Then check the join on both sides at full size, and compare the face with the original as before.
Hand over one approved file
If a designer, assistant or agency publishes on your behalf, give them the approved image, the untouched source and a line saying where it may be used (About page, speaker bios, not ads). That is a more useful handover than three alternatives and a vague instruction to use the nice one.
When the website colours change later, crop or recolour the page around the approved portrait before generating a new one. For several people who need to match, use a team-portrait style specification before you edit the first photo.